
One of the simplest ways stay up to date with basic car maintenance is by doing regular engine oil checks and changes. Regardless of the kind of vehicle you drive, knowing how to check engine oil can mean being able to catch low oil levels and any early issues before they become expensive repairs. In this article, we’ll share a handy eTags guide for to how to check and change your engine oil at home…and when to see a mechanic.
Use eTags© to Quickly Complete Your DMV Service. Renewals, Title Transfers and More, All Online!
How to Check Engine Oil
Before getting into the oil check, be sure your vehicle is parked on an even, level surface and that the engine is switched off. Let the vehicle rest for a few minutes to allow the oil to settle – unless your owner’s manual recommends otherwise.
Steps to check engine oil:
- Lift up the hood and find the engine-oil dipstick.
- Remove the dipstick and wipe it with a clean paper towel or rag.
- Replace the dipstick fully, and then pull it out again.
- Compare the oil level to the markings found on the dipstick.
- If the level comes up low, add the right oil and amount listed by the manufacturer.
- Don’t overfill, as this can lead to engine damage.
There are some modern vehicles whose dipstick does not show levels. Instead, they have an electronic oil-level display. Be sure to adhere to the manufacturer’s instructions for your vehicle.

How to Change Engine Oil at Home
If doing a DIY oil change is practical for you with your vehicle and workspace, here’s what you’ll need to get started:
- The correct motor oil
- A replacement oil filter
- A drain pan
- A funnel,
- Basic hand tools
- Gloves
- A safe way to access the drain plug.
Generally, an oil change requires:
- Warming the engine as recommended by the vehicle manufacturer. Do not overheat it, however, so as to avoid working near an excessively hot engine.
- Parking on an even surface, shutting off the engine, engaging the parking brake, and ensuring the vehicle is well supported before going underneath it.
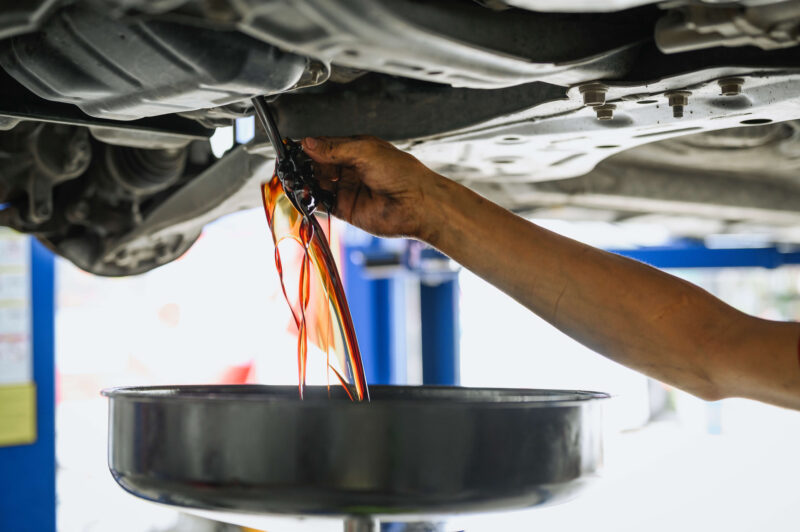
- Placing a drain pan directly under the oil pan and removing the oil drain plug.
- Allowing the old oil to empty out completely.
- Replacing the oil filter if necessary.
- Reinstalling the drain plug according to the manufacturer’s instructions.
- Filling the specific amount and grade of fresh oil.
- Starting the engine for a moment and checking for any leaks.
- Shutting off the engine and rechecking the oil level as specified in the owner’s manual.
Oil levels and guidelines differ significantly from vehicle to vehicle, so it’s best not to rely on any generic “four or five quarts” rule. Always consult your owner’s manual for the right oil type and capacity.
When Should You See a Mechanic?
An oil change is part of regular routine maintenance, but occasionally it can be best to get a professional’s help.
Visit a mechanic for any of following:
- Ongoing oil leaks or puddles beneath the vehicle
- An oil-pressure warning light that stays on
- Any strange engine knocking, ticking, or grinding
- Thick or unusual exhaust smoke
- Metal pieces in the drained oil
- Oil that drops very low between changes
- Problems removing a damaged drain plug or oil filter
A skilled technician can diagnose any potential issue as a leak, oil over-consumption, internal engine wear, or another problem.

Recycle Used Oil
Avoid pouring old motor oil on the ground or down a drain. Instead, allow it to collect in a clean, well-sealed container and bring it to an appropriate oil-recycling or collection facility.
Some car garages, service locations, and retailers will accept used motor oil. Always call ahead to confirm this with the facility before dropping it off.
DIY Oil Changes
Checking engine oil at home can be a quick and easy process, and many vehicle owners are able to change their oil using the right equipment and manufacturer instructions. When warning lights pop up, when substantial leaks or unusual engine noises occur, however, it’s best to see a qualified mechanic to solve the issue.