Nothing feels quite like climbing into a newly detailed car, but we know that regular trips to a professional can add up. The good news: keeping your car squeaky clean and looking great doesn’t have to mean spending a whole lot of cash. With the right information and a little time, you can detail your car in your own driveway and still come out with a showroom sparkle. In this step-by-step eTags guide, we’ll show you how to clean, protect, and maintain your ride like a pro…at a fraction of the cost.
Use eTags© to Quickly Complete Your DMV Service. Renewals, Title Transfers and More, All Online!
DIY Car Detailing at Home
Step 1: Arrange Your Supplies
Before getting started, gather all the tools and products you’ll need. Here’s a handy list:
- Car wash soap (try to use environmentally friendly cleaners)
- Microfiber towels (and wash gloves)
- Buckets with grit guards
- Wheel cleaner and brushes
- Glass cleaner
- Interior cleaner (for dashboards, upholstery, and carpets)
- Wax or sealant for protection
Make sure to have all the right supplies ready – it will translate to a smoother process and help prevent scratches that can happen from using the wrong materials.
Step 2: Wash
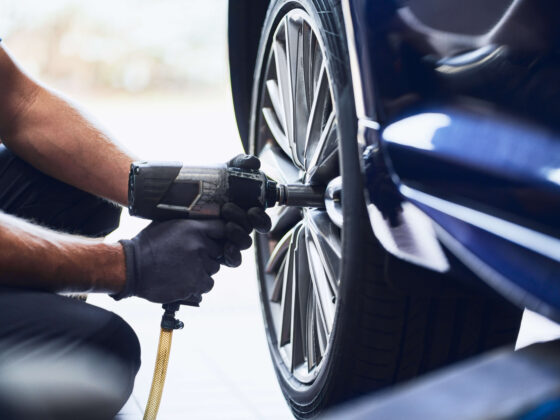
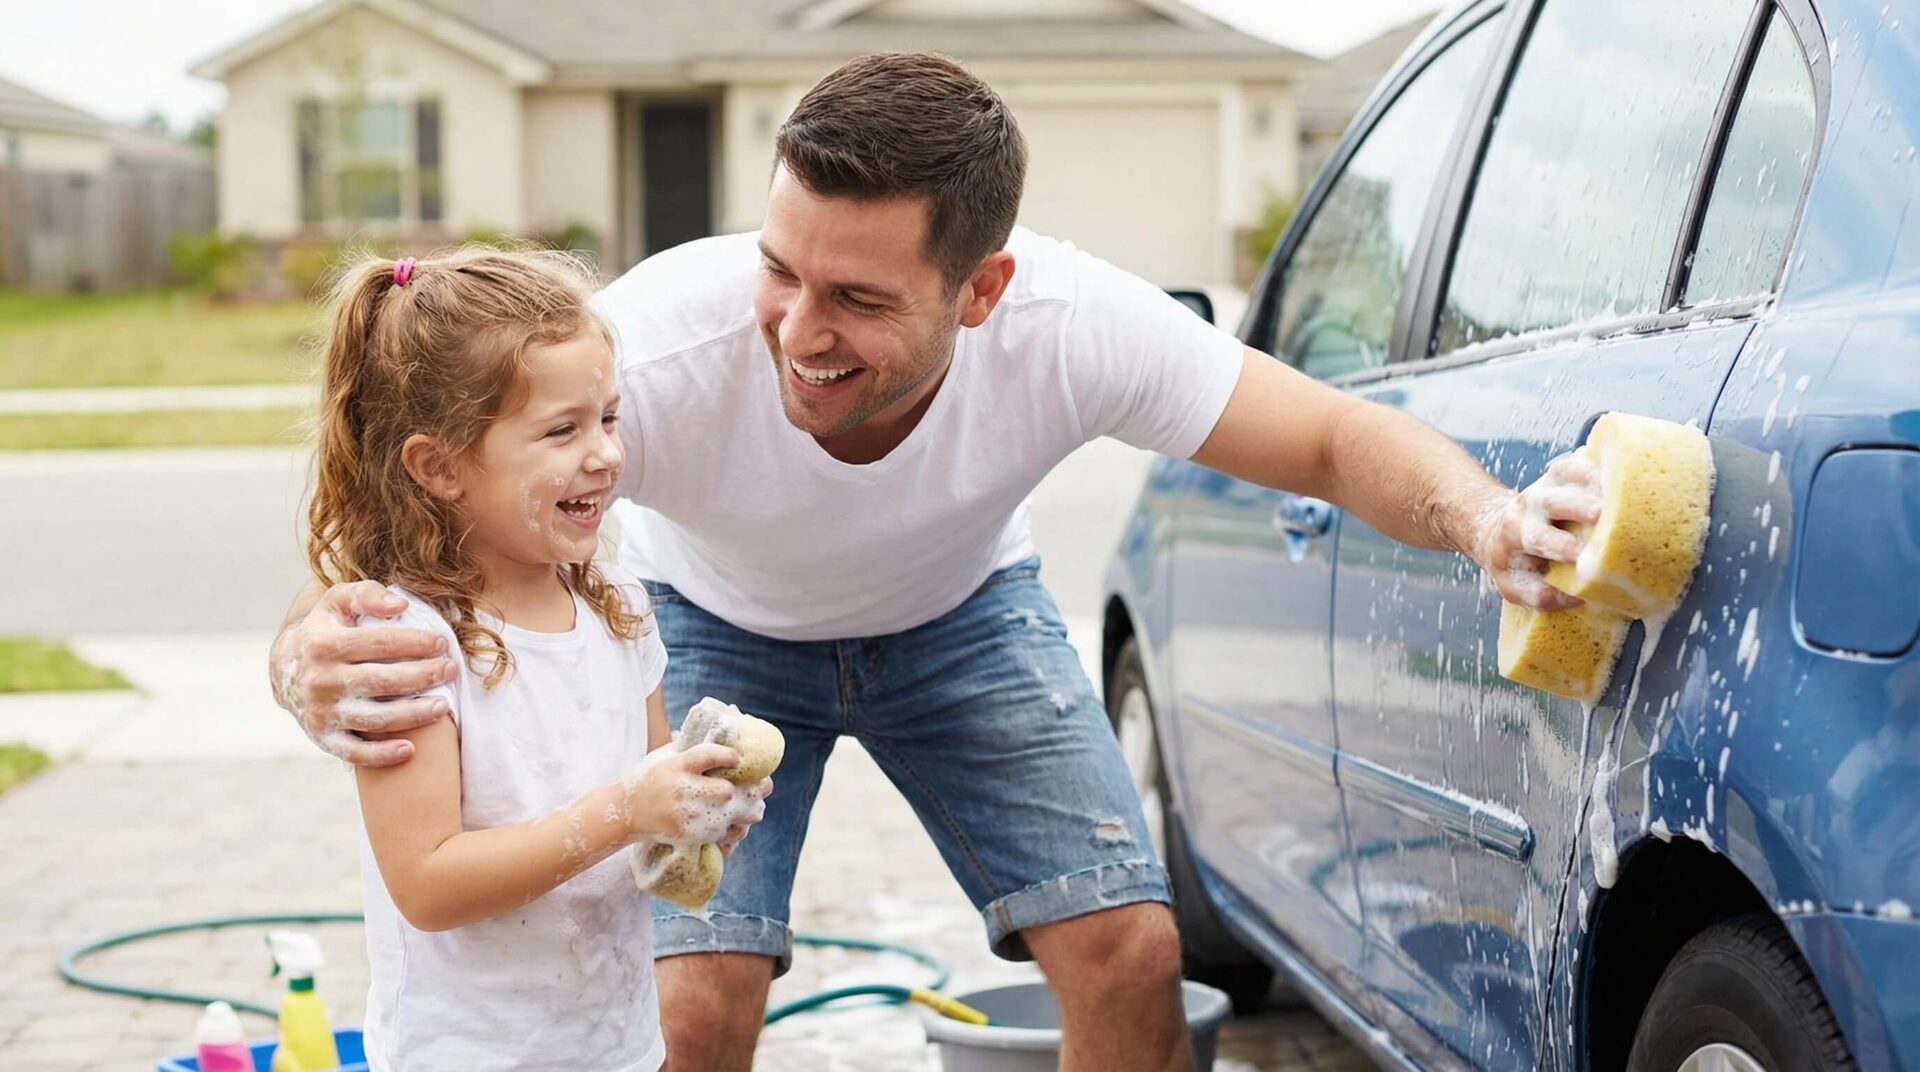
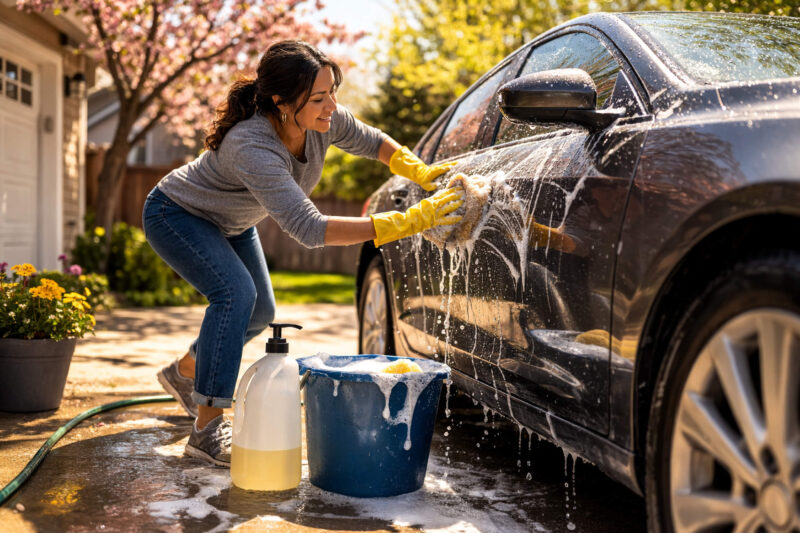
Begin on the exterior of your vehicle. First rinse or hose down your car with water to loosen any surface dirt. Then use a bucket, soap, and a microfiber mitt to gently wash the car, starting from top and moving to bottom. Try to stay away from circular movements when washing, as these can leave swirl marks. Instead, stick with straight motions. It’s a good idea to rinse often in order to prevent the soap from caking onto the paint on at any point. And remember to clean the wheels and wheel wells – these spots often store brake dust and grime.
Step 3: Dry and Prep the Surface
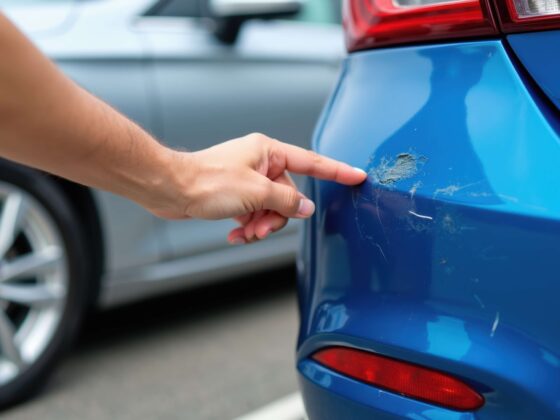
After your wash is done, dry your car thoroughly using a soft microfiber towel – this will prevent water spots. Now, give the surface a good once-over, looking for minor scratches or swirl marks. If necessary, use a clay bar to get rid of embedded contaminants, as it will help create a smooth surface that is prepared for polish or wax.
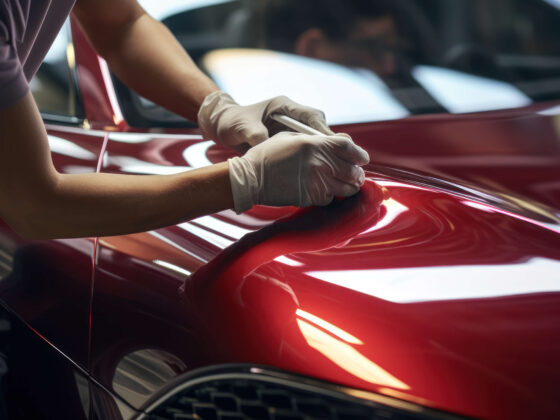
Step 4: Polish and Protect
Polishing both amps up the shine and helps to remove little imperfections. When applying a car polish, use a foam applicator or dual-action polisher in light, circular motions. After polishing, guard your paint with a coat of wax or paint sealant. This will act as a protective barrier against dirt, UV rays, and rain – keeping the exterior of your car looking great for longer.
Step 5: Clean the Inside
Break out the vacuum for carpets, seats, and floor mats. Use a product made for interiors to clean the dashboard, console, and door panels. For leather upholstery, you’ll want to use a leather conditioner to help prevent cracking. And remember to clean your windows with a streak-free glass cleaner for both visibility and a polished look.

Bonus Tips
In order to make the DIY detailing process go even smoother, consider:
- Working in a shady area – this helps to prevent soap and wax drying too fast.
- Use different, clean towels for the interior and exterior to avoid cross-contamination.
- Detail frequently to keep your car looking its best and help extend its value.
While DIY detailing may seem like a big job, these simple steps can help you achieve professional-quality results without spending half your paycheck. A clean, well-kept car not only looks better but also lives longer.